Accessing Your GameLift Instance
Prerequisites
- AWS CLI
- A GameLift fleet already created
- Patience
This guide is assuming you're on Windows as your main OS, but if you're using Linux then the commands will be the same for AWS, but the system commands like changing the ssh key permission for Linux would be chmod 400 gameliftkey.pem.
Windows
- Open Command Prompt (cmd) and type in
aws gamelift describe-instances --fleet-id <your-fleet-id>. Replace <your-fleet-id> with your actual fleet id which you can find here.
- Now in cmd run
aws gamelift get-instance-access --fleet-id <your-fleet-id> --instance-id <your-instance-id>. Again replace the contents in <test> with the details from the command above.
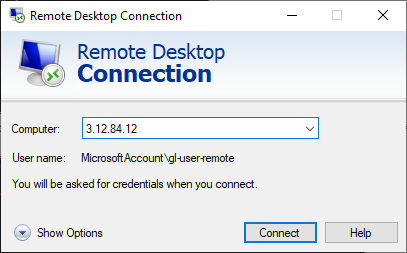
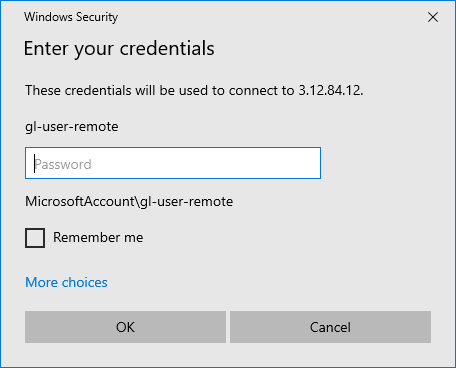
- Excellent, now you can log into your instance. Open Remote Desktop Connection (RDP) on Windows (Windows key and type in RDP). Log in with the details from the command above.

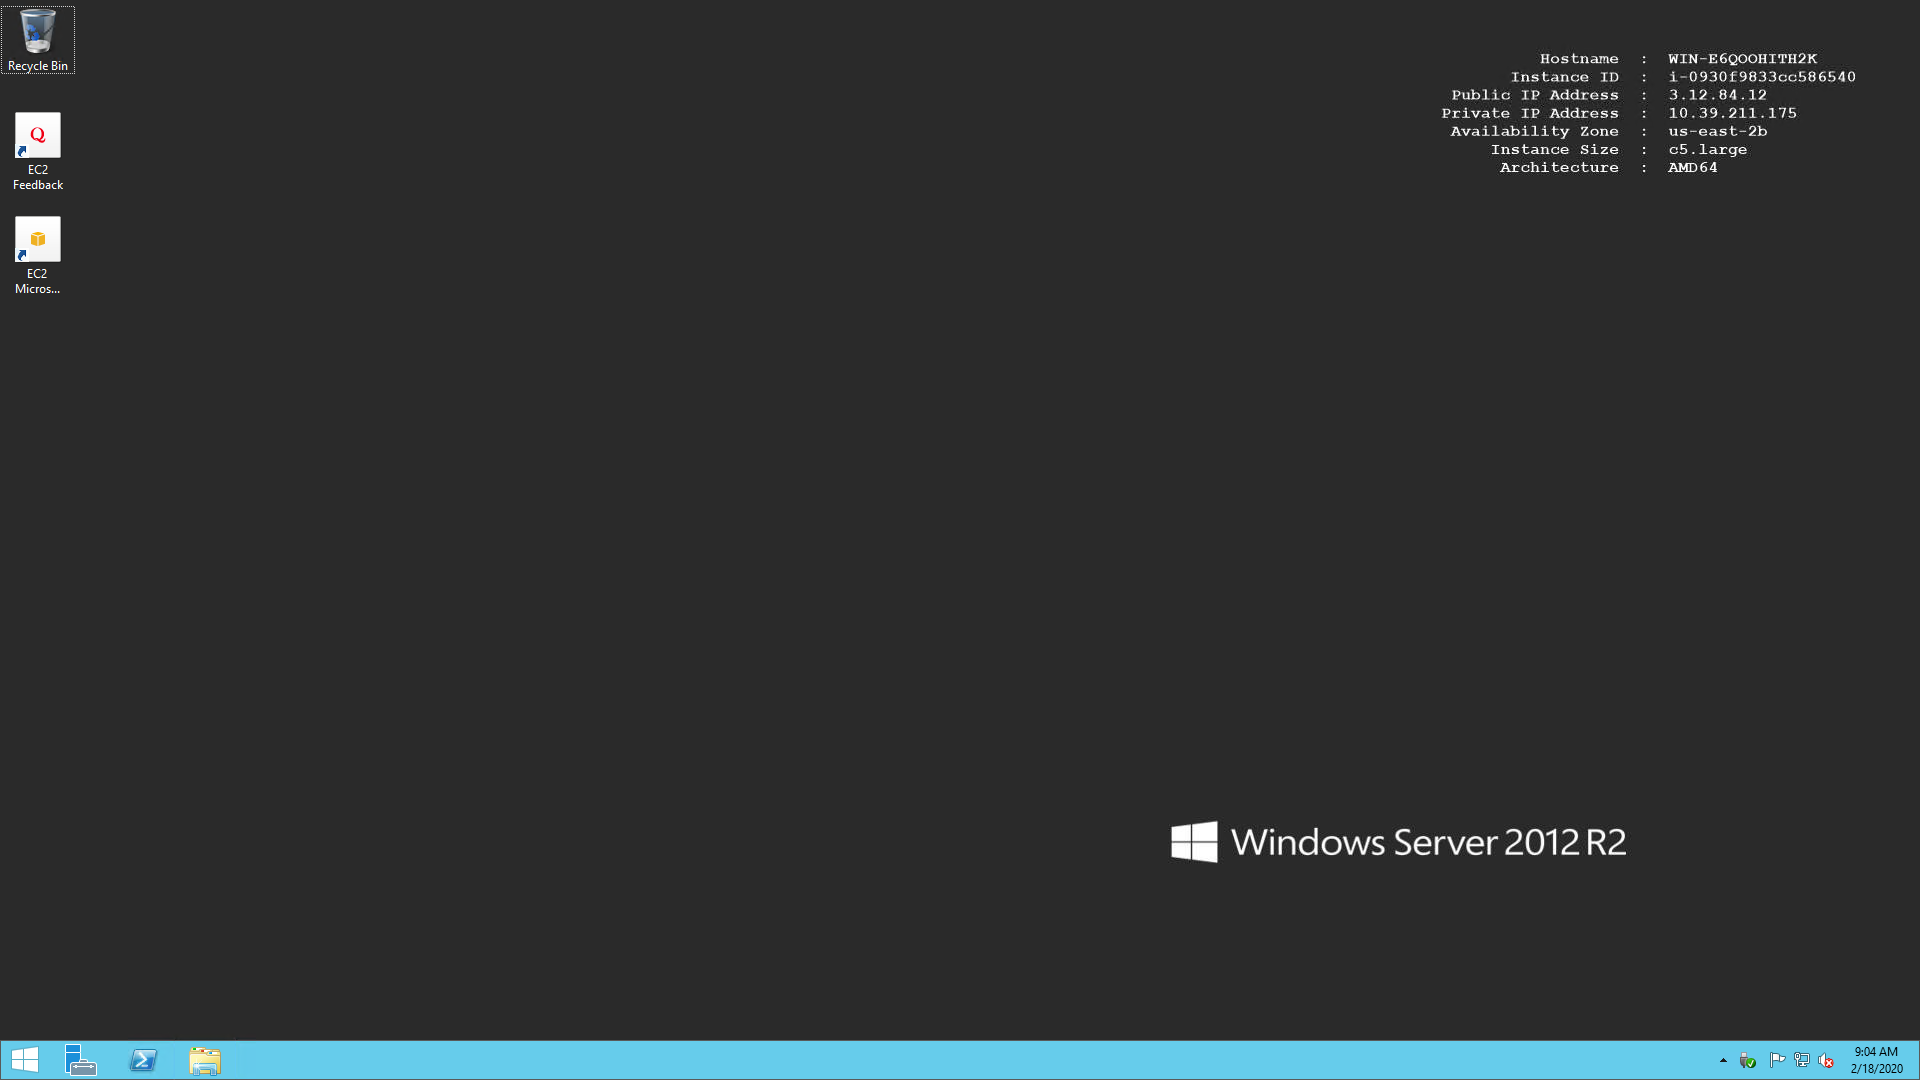
- To access your game go to C:\Game.
Linux
- Open Command Prompt (cmd) and type in
aws gamelift describe-instances --fleet-id <your-fleet-id>. Replace <your-fleet-id> with your actual fleet id which you can find here.
- Now in cmd run
aws gamelift get-instance-access --fleet-id <your-fleet-id> --instance-id <your-instance-id> --query InstanceAccess.Credentials.Secret --output text > gameliftkey.pem. Again replace the contents in <test> with the details from the command above. This will generate an ssh key for you.
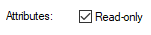
- Right click the gameliftkey.pem and make it readonly. (Right click -> Properties -> Read-only) (you might not have to do this, but do it if it complains about file permissions)
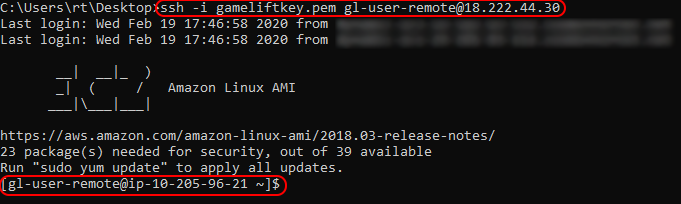
- Great! In cmd run
ssh -i gameliftkey.pem gl-user-remote@<your server ip>. Remember to replace the <your server ip> with the one from step 1. If this is your first time accessing the instance it will ask you something about a fingerprint - just type yes. - Awesome now you should be logged in.
- To access your game go to /local/game.
until next time